
Graduation Cards
My niece has a daughter who is graduating this month and she asked me to make some graduation cards to give to her classmates. With all this Covid-19 mess, graduations are going to have to be made as special as possible since there will be no ceremony, parties, trips, etc. That's so sad, They even had a virtual prom.
Her school's colors are kelly green and white so I pulled out my Call Me Clover cardstock, DSP and ink. All these things are part of the 2018-2020 In Colors so are retiring at the end of the month. Most are gone already.
I have a series of cards I will be sharing but wanted to show you the first 3 I designed.
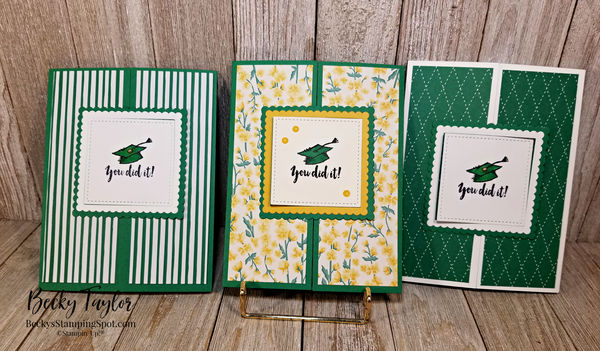
These cards feature a fun fold and I'm not sure what it is called "officially". I'm not even sure I can adequately describe how to do it! But I will try.
I started by making a gatefold card. The base is 5 1/2" x 8 1/2" and scored at 2 1/8" from each side to create the gatefold. Be sure and use your bone folder to get crisp lines to keep it shut! I used Whisper White Thick or Call Me Clover cardstock for the bases. I then added DSP cut to 5 1/4 x 1 7/8. (the DSP was 6x6 so I first cut off the bottom all the way across at 5 1/4--we'll use that little 3/4" piece later)
I die cut the stitched square using Whisper White cardstock. Because I was using both green and white "frames" (as well as Bumblebee and Very Vanilla) from the Layering Squares, I layered the squares first and then cut out.


This will create the smaller and larger frames that go on the front. I made these in white, Call Me Clover, and Bumblebee. I also just made some white squares and a very vanilla square. Since I am making multiples of the cards, I needed more than just one or two.
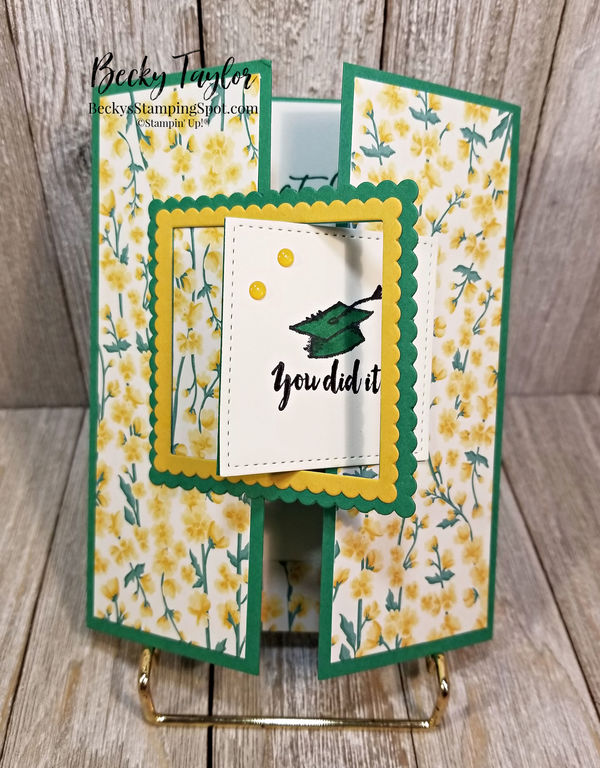
I stamped the sentiment from Witty-cisms onto the square (either white or very vanilla) using Memento Tuxedo Black ink. I let it dry well and then colored in the mortarboard (graduation cap) with Call Me Clover Blends. I then attached that square onto another square (either white or green depending on the card) lining them up perfectly.
Layer the two frames, smaller on top of larger one, lining up perfectly to leave the square space in the center, You can choose whatever color works best on top or bottom. I used multipurpose glue (small amounts) on the two. You could also just use one frame (if so, make it the bigger frame) if you want. Set aside to dry.
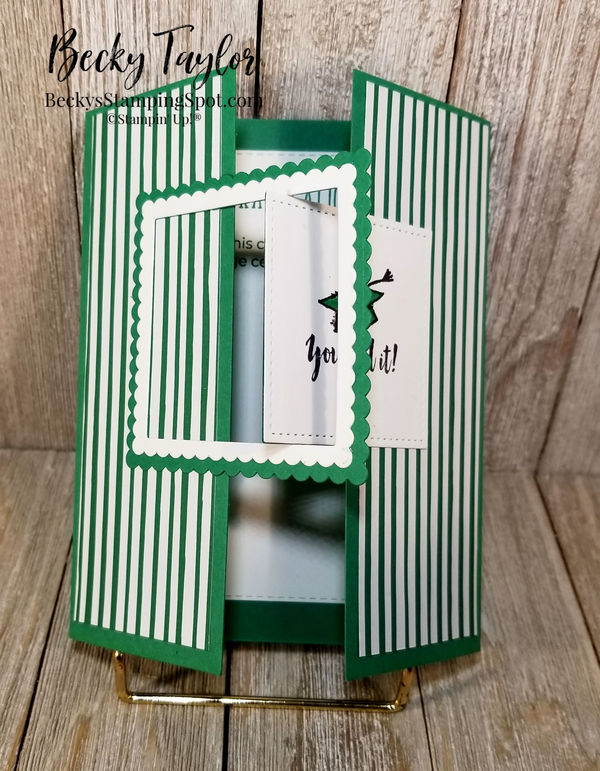
Centering the square onto the card front, I attached ONE SIDE ONLY--just add snail or glue to half the square so it is glued only on one half of the gatefold. If you add adhesive all over, you will glue the card shut! Let dry (if you are using glue).
Put the frames around that glued down square, fitting the square into it firmly. You can now open up that side of the card and you'll see the back of the frame on one side. Put some glue JUST ON THE FRAME THAT IS SHOWING and close the card, letting the glue dry.
Now you can open the card so that the square pulls through the frame.

If the card was on the green cardstock, I put white (or very vanilla) inside for the sentiment. Here is where you can use that little 3/4" strip of paper you cut off. You can add to the side or bottom of the inside.

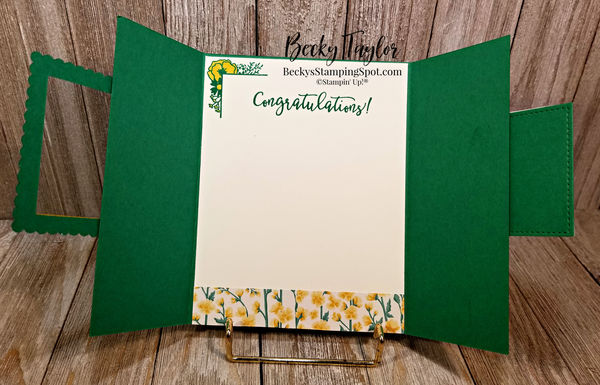
The card with the stripes had stripes running down both sides of the center. For the Very Vanilla inside with the yellow flowers, I stamped the corner piece from I Say Hello in Call Me Clover and then used Blends to color in the flowers.
I hope that I have adequately described how to do this. If you have any questions, just ask!
I have some additional cards using this same technique as well as some other cards (using a One Sheet Wonder template) to share with you in a couple of days.
FYI: The yellow and green paper above as well as the Bumblebee cardstock will be available June 3 in the new catalog.

Product List


")


 Designer Series Paper")
 Designer Series Paper")


