
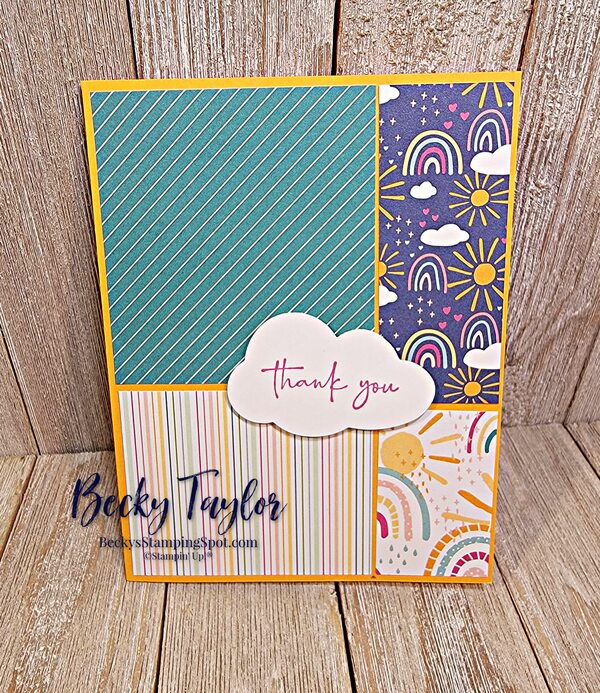
Stack and Shuffle Rainbow Cards
A friend of mine (Lorraine Tierney) shared the Stack and Shuffle technique with me and I fell in love! This technique requires 4 sheets of DSP and creates 4 different cards. I used the Sunshine and Rainbows paper (6 x 6) that is free with a $50 order. You choose 4 pieces that look good together (and remember there are two sides to each so you can mix and match once you have cut your pieces)
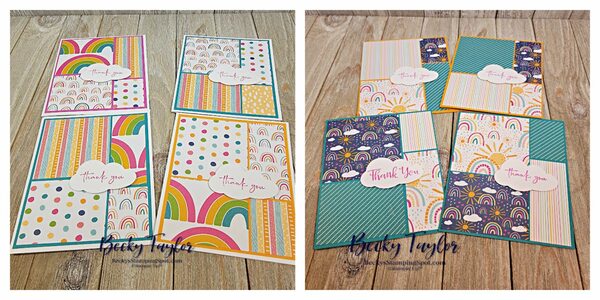
I made two different sets of cards--one with mats and one without. The sizes you cut depend on whether you mat or not.
You create these cards by stacking your 4 pieces of DSP and cutting them all at once (you may need to swipe your trimmer twice to cut). You then keep your pieces lined up and then will shuffle the pieces within each stack to create the cards.
These are the instructions for the cards with mats:
Supplies:
- Stamp Sets – Happy & Heartfelt (158005)
- Card Stock – Mango Melody (146989); Basic White (159276); Basic White Thick (159229)
- Stamp Pads – Magenta Madness (153117)
- Misc. – Sunshine & Rainbows (DSP) (158126); Cloud Punch (157749); Dimensionals (104430); Stampin’ Seal (152813)
Measurements:
- Basic White Thick: 8 1/2” x 5 1/2” scored at 4 ¼”
- Basic White: Scrap for cloud
- Mango Melody: 5 ¼” x 4”
- DSP: 5” x 3 3/4” (4 pieces)
Instructions:
- This is a stack & shuffle card. You need to choose 4 pieces of DSP that coordinate and look good together once cut up (remember there are two sides to the paper so you can choose what works best for you. This technique will make 4 different cards.
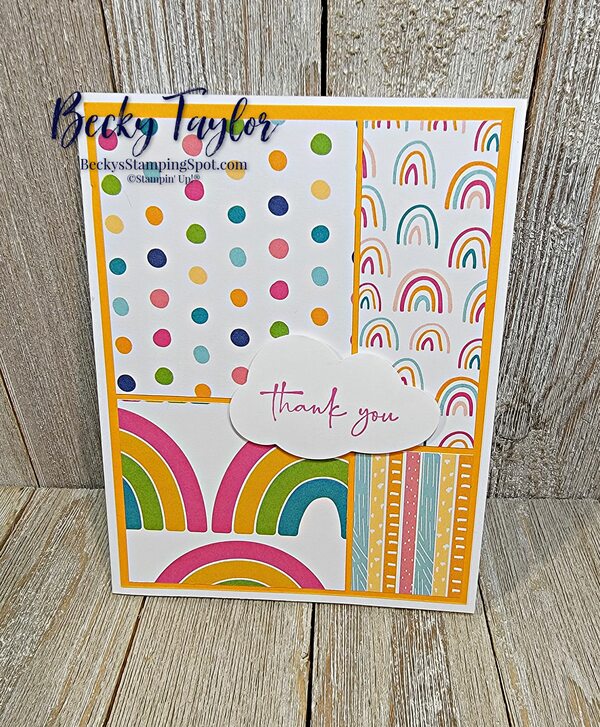
- Stack the 4 pieces and you will cut them at one time. Keep them sorted in the same stacks you cut. See photo to get the cutting template, courtesy of Lorraine Tierney (chatncraftwithlorraine.com). Keep the first (largest) stack as cut. Move down and shuffle the top piece of that stack to the bottom. For the small pieces at the top of the stack, move the top 2 pieces to the bottom of that stack. At the bottom stack move 3 pieces to the bottom of the stack. This will give you a different card front for all 4 cards. (You could also just use scraps that work). Lay out your cards and keep the pieces in order. I have included a picture of all 4 cards I made—I used different colors of card stock for the mat.
- Using Stampin’ Seal put your pieces on the mat in the order you have arranged, leaving an even border all around.
- Stamp the sentiment on the basic white scrap and punch out using the cloud punch.
- Attach the card front to the card base
- Using dimensionals attach the cloud.
You can use the pieces that are left from the 6x6 paper to put on the insides of the cards or to make additional cards.
Here are the two cutting templates (from Lorraine Tierney craftnchatwithLorraine.com):
without a mat:
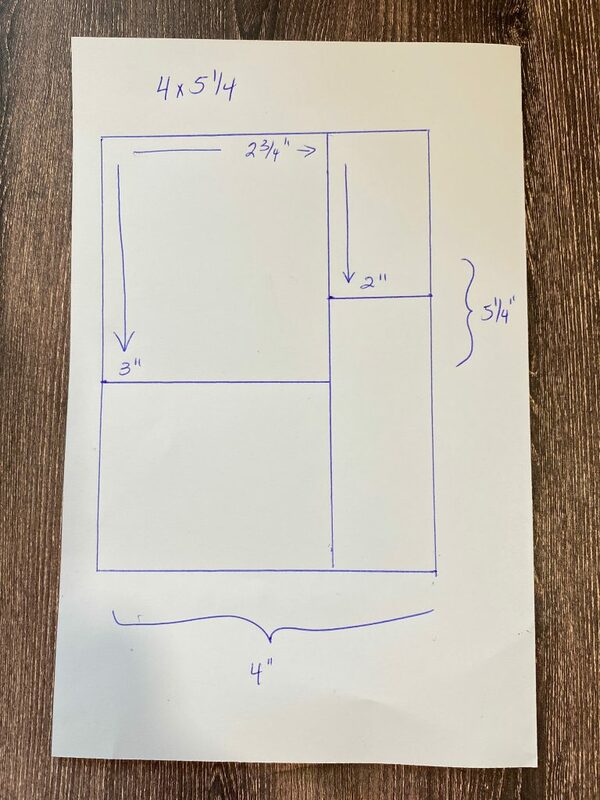
with a mat:

Here are some individual cards made with these templates:
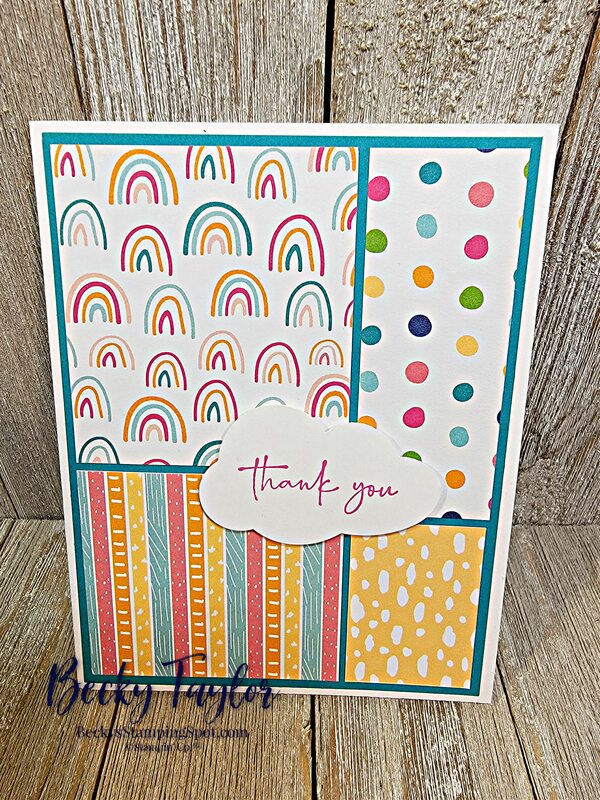
With Mats
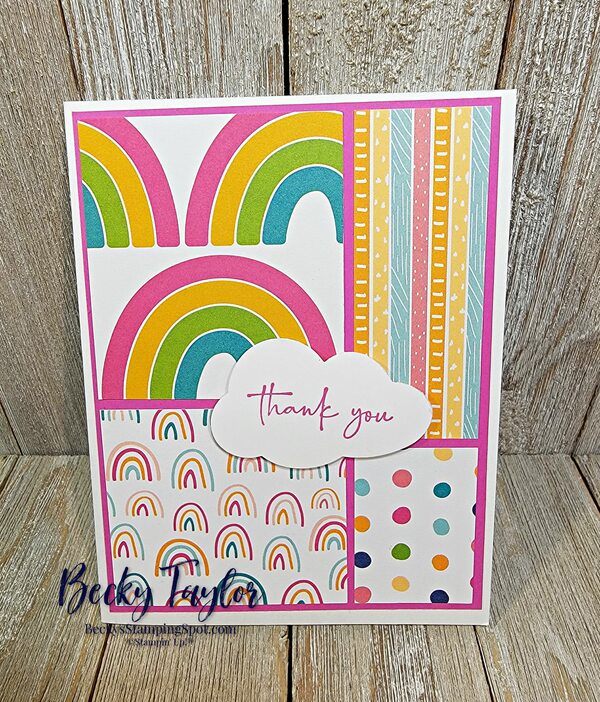
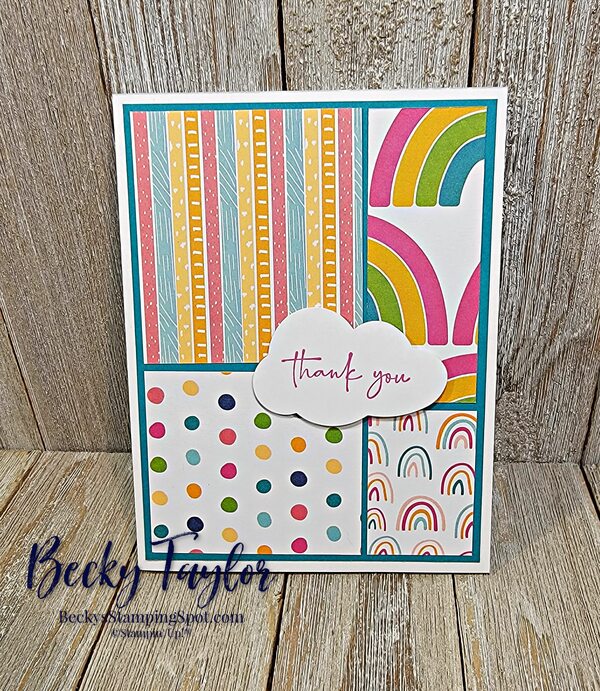
Without Mats:
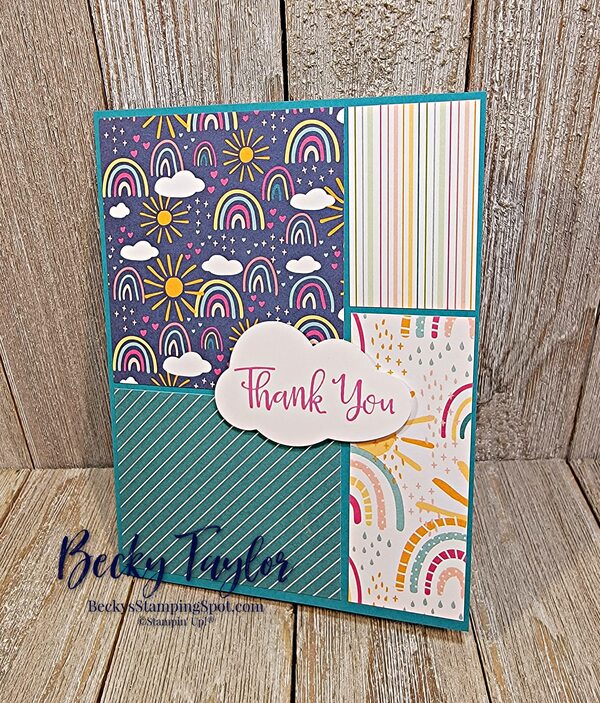
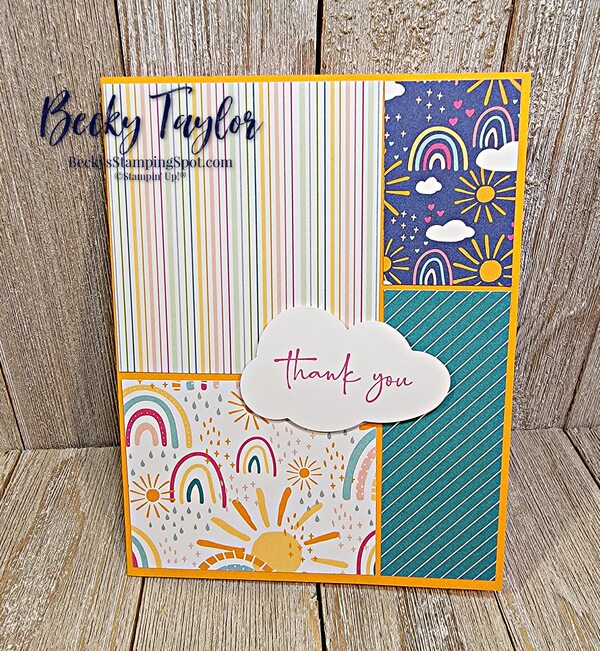

You can see that those without the mats have different colored card bases. You can choose any that match your DSP.
Have fun making these cards! A nd I know it seems confusing about shuffling the pieces so if you have any questions, just email me at beckysstampingspot@comcast.net
