We've had to resort to virtual events (Covid) instead of in-person events. Although I really miss getting together with friends and colleagues and seeing them personally, a virtual event allows more people to attend. Many who have never attended an event in person will be able to tune in to this event. This event is November 11-13.
We were able to purchase a swag box with our attendance ticket. I thought I'd share with you the items in the box:
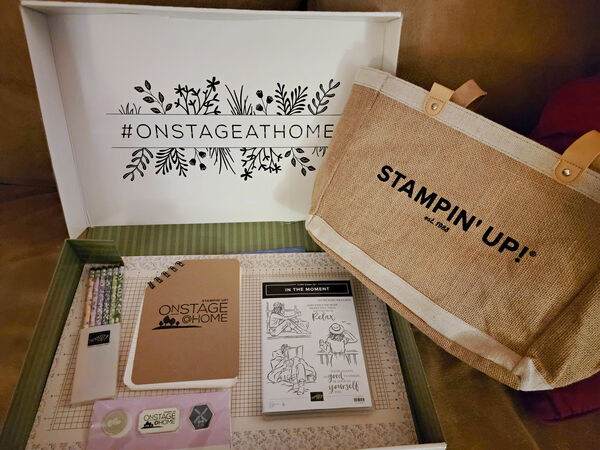


The burlap bag is great and you can tell the side (bee) probably forecasts something new in the upcoming catalog. In the box we got a new stamp set from the new catalog, a set of pencils, pins to swap (I got a cactus and a windmill--probably more new sneak peeks), new grid paper, and a notebook for notetaking during the event business sessions and stamping sessions.
And we normally have an event for leaders that are silver elite and above. Since we couldn't get together, we were sent a gift:

These organizers will be great in my craft room to hold cardstock, pens/snips, and cut card bases. They are covered in a new Designer Series Paper we were able to purchase to stamp along during the event. It's from the Heart and Home Suite.
As a perk of attending this event, we will be able to preorder some items and get some new SAB items too! All the other demonstrators will have to wait until 1 December to order from the catalog.
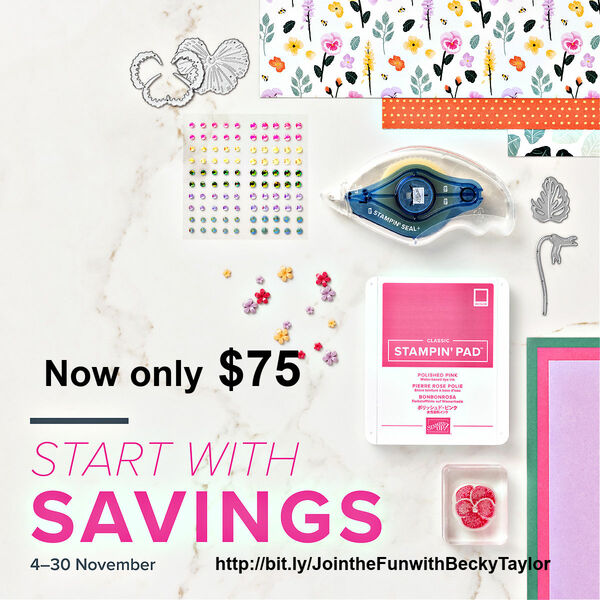
Purchase a Starter kit while they are on sale this month ($75 and get $125 in products plus FREE shipping) and you will be able to attend future events! If you buy the kit Nov 16-18, you can add discounted sale cardstock, inks, and dies and save even more! Get your starter kit here
Once the event is over, I'll be able to share even more with you!